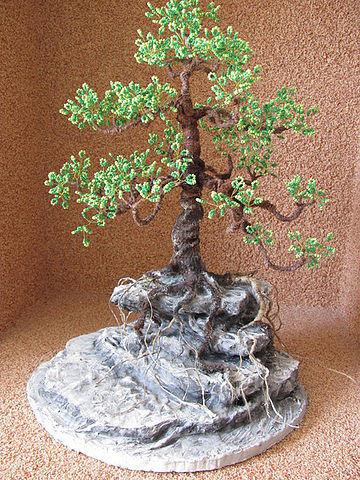
The art of creating beaded bonsai trees and different bases for them is a bit tricky to master, yet more and more people are trying to decorate their houses with their own creations. Whether it is because they are tired of store-bought stuff that all have or simply want to save money, DIYing is always a smart option.
Today, we are on a journey to exploring a step-by-step guide to creating a rocky cliff base and you will get a little bonus at the end – a video tutorial on how to create a beaded wire tree at home. Let’s start.
Materials you will need to create the base:
- drywall (or plasterboard)
- glue
- drywall primer
- wire
- strips of cloth or sewing threads
- wood sticks
- alabaster
- acrylic paints
- wood toothpick
- miniature pebbles
- miniature decorative greens
- beaded flowers
- beaded Bonsai tree
Tools:
- scissors
- drill
- spiral drill
- little stiff brush
Techniques:
- beading
Step-by-step guide:
Step 1
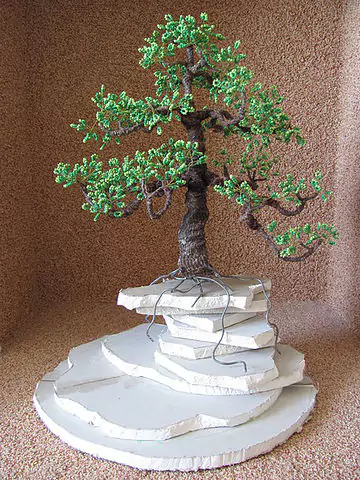
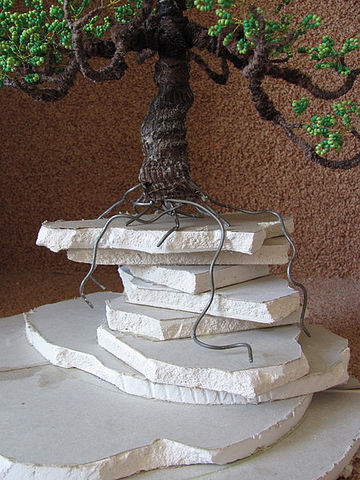
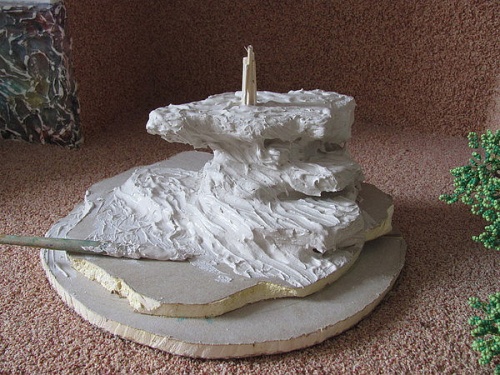
Cut drywall into various pieces, apply drywall primer to each of them, and glue them together once they are completely dry.
Step 2
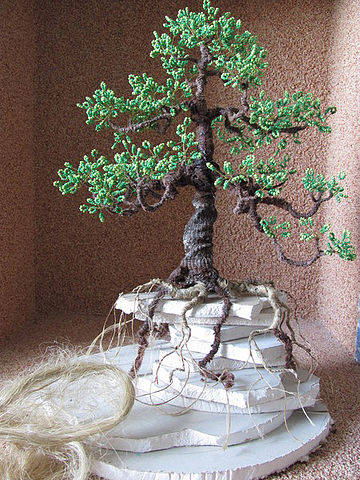
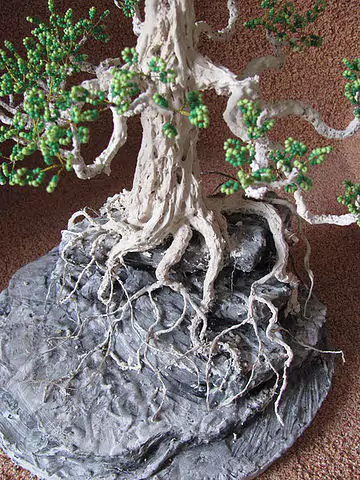
Now you should ‘plant’ the tree, making sure the tree roots are divided equally.
Step 3
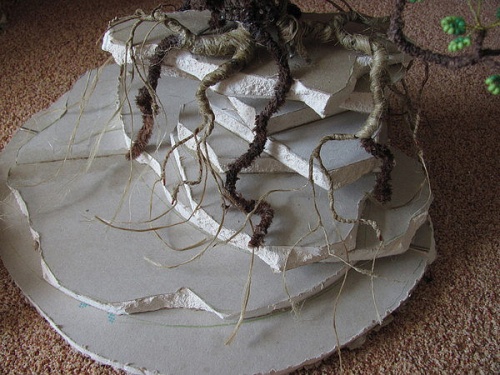
Use the strips of cloth or sewing threads to wrap the wire roots. You can also use plumbing hemp, which can be easily divided to tiny strands.
Step 4
Before you set your beaded Bonsai tree, check out if the tree roots are evenly divided. Plumbing hemp bundle should be bottom left.
Step 5
Drill a few holes into the base, add glue to each hole and set wood sticks into them. You will need them to set your tree.
Step 6
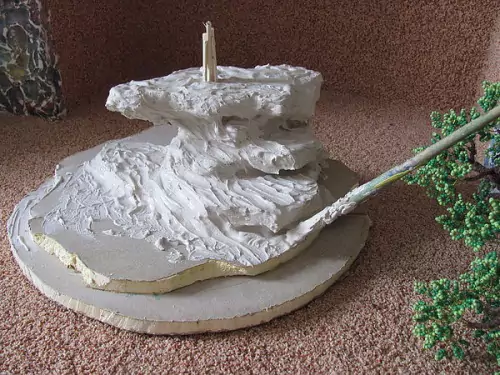
Apply the primer to the whole base. Mix alabaster and glue together and also apply to the whole base once the primer dries.
More: 7 Unique DIY Summer Ideas for Kids
Step 7
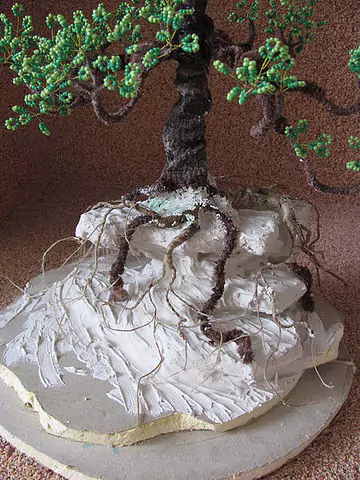
Set the tree leaving a little space for the alabaster and glue mixture. Make sure you add more glue than alabaster to fix the tree and base.
Step 8
Once the tree is set and the base is completely dry – it takes 3 to 4 hours – start painting your rocky cliff base. You can use white acrylic paint or any other type of white paint you have at home.
Step 9
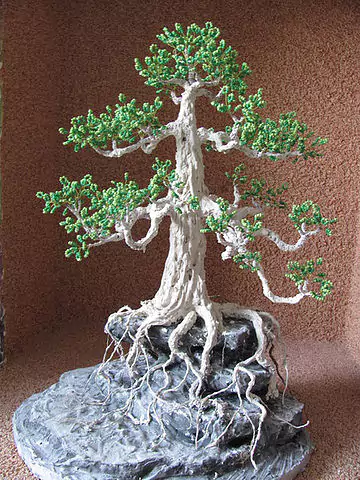
Combine alabaster and glue together (1:1) and use a little stiff brush to apply the mixture to the branches and stem of the tree. Start with the smallest branches while the mixture is still liquid. Leave it for a few hours to dry.
Step 10
Now apply a few additional coats of the mixture to the stem and the roots. Use a toothpick to create a tree bark.
Step 11
Once the tree and base are completely dry, it is time to paint them. Start with a darker paint and then apply a coat of golden and light brown shades. Pearlized acrylic paints will help you make your tree look more natural.
Step 12
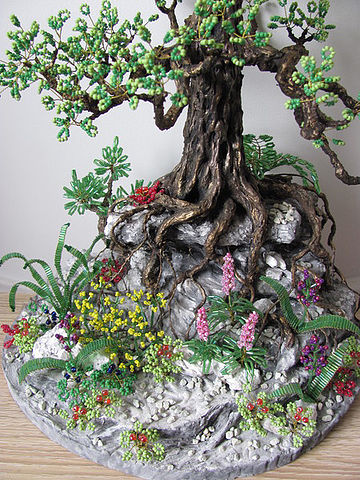
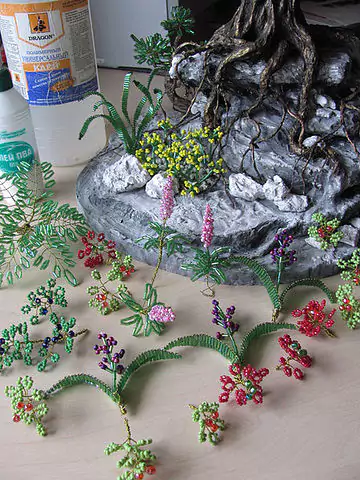
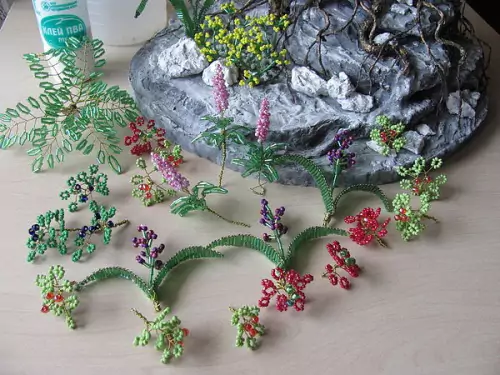
Now all you have to do is decorate your rocky cliff base with beaded flowers and miniature decorative greens. You may need to drill a few little holes to set the decorative greens.
Step 13
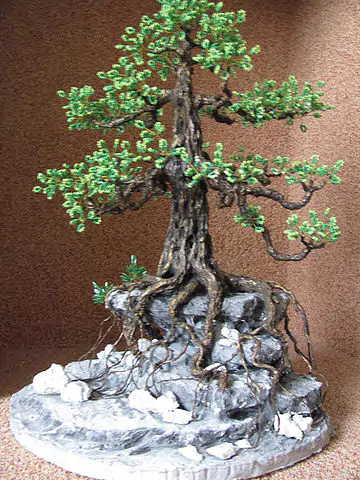
Glue miniature pebbles around the tree base. It is best to opt for gray pebbles, or you can paint them yourself.
More: 6 Fabulous Desk Decor Ideas for Small Spaces
Step 14
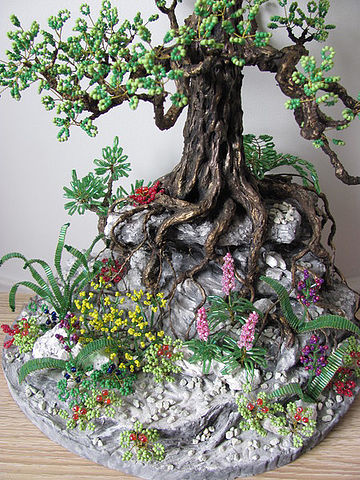
Congratulations. You have got a beautiful rocky cliff base for your beaded Bonsai tree.
If you have no idea how to make your own beaded Bonsai tree, here is the video tutorial for you to check out:

