
Between all sorts of fads and trends that are labeled as “hot” or “must-have,” there is an entirely different DIY technique that stands apart from the rest and does not seem to fit into any category. It is close to becoming a timeless one, due to being so nature-inspired, but at the same time, it is versatile and free-flowing, which is not what you often see in classic styles.
Ombre, a term coming from Latin and referring to a historic method of dyeing fabric, has become the name of a popular art technique involving colors or tones that shade, bleed, or drip into each other, resulting in subtle gradations from light to dark or vice versa.
Today, the “ombre effect” can be used to describe all kinds of shading and fading of colors and tones, and created in a variety of projects with different materials. It has been a trend for hair, clothes, interior design and decorative objects, but it has more longevity potential than just a trend.
Ombre is a great way to add color and personality to both modern and traditional decor styles, without the risk of the result being overwhelming. The flowing, airy, or fluid watercolor-like effect is a softer, subtler alternative to accent color pieces, geometric motifs, checks, stripes, prints, or a mix of patterns. It can be applied to many different objects or surfaces, walls, furniture, textiles, and carpets.
1. Dressers
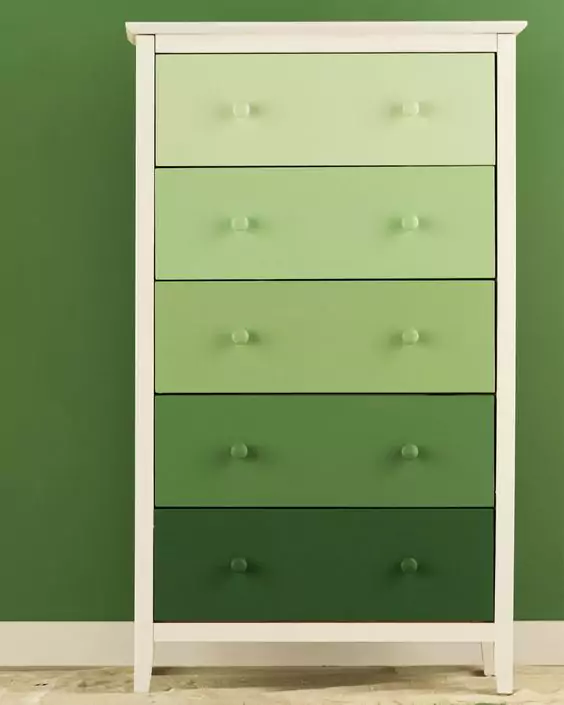
Paint is one of the most effective and affordable DIY tools, especially when an old piece of furniture deserves a makeover. The gradient technique is amazingly easy to try on dressers, since this kind of an ‘ombre look’ project does not require any measuring, dividing the surface into zones and blending in between them.
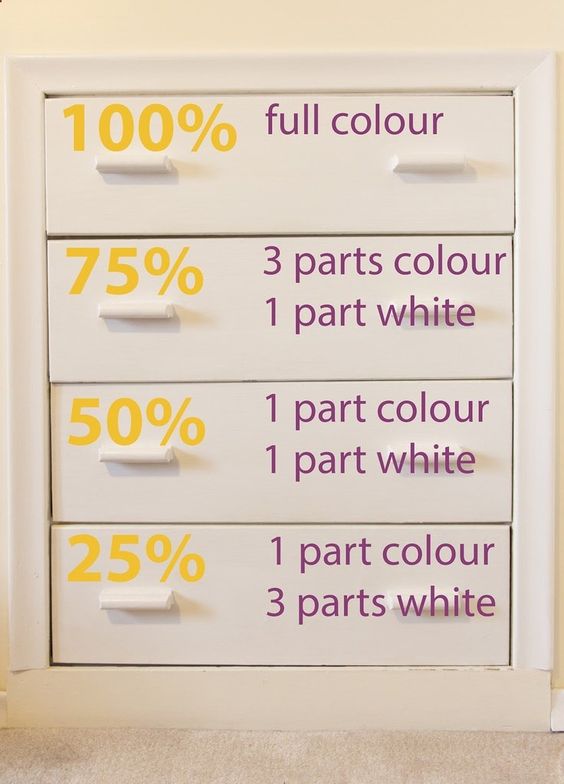
You just start with the most saturated tone on the bottom drawer and work up to the lightest shade on the top drawer, gradually adding more white paint as you proceed from one drawer to another.
The ombre look appears effortlessly, as if all on its own, and although the differences in color may seem very subtle if you compare two drawers that are next to each other, the overall result is very stylish and beautiful.
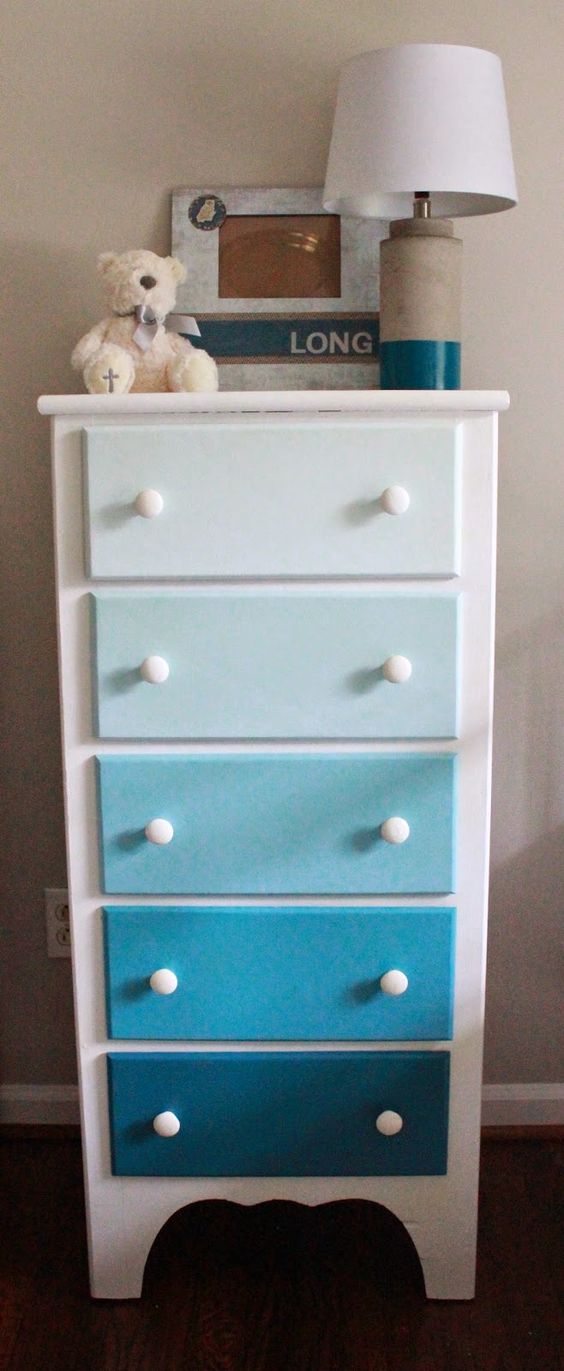
However, this does not mean you have to start with a strong color or a dark shade. Depending on the effect you want to create, the gradient can be quite dramatic or very subtle, with a soft pastel shade being your darkest one and becoming lighter with each drawer.
Plain dressers are boring. Add some interest by painting the dresser drawers in gradually lighter colors. For example, the bottom drawer might be painted in teal, then the same paint can be lightened with white paint to create the ideal colors for each drawer. The top one will be the lightest, with just a touch of teal. Of course, you can use any color you wish, to personalize the dresser.
An important tip: wash and dry the brush each time you start painting the next drawer.
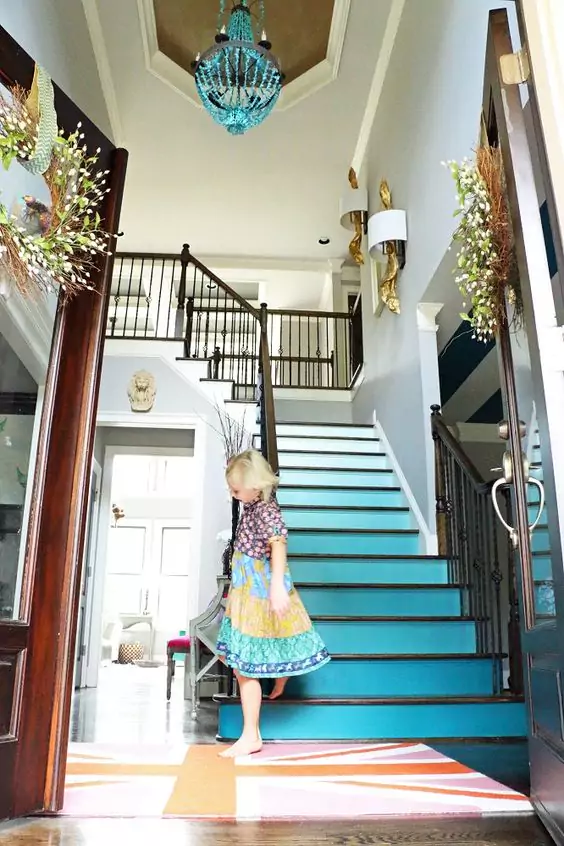
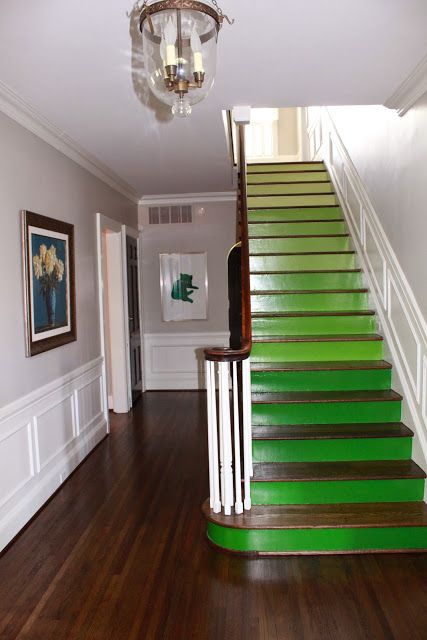
2. Stairs
Creating the effect of colors that gradually fade out can be quite simple, especially if you have a dresser with only three drawers or a small surface to experiment with. It can involve more transitions if you have stairs in the house.
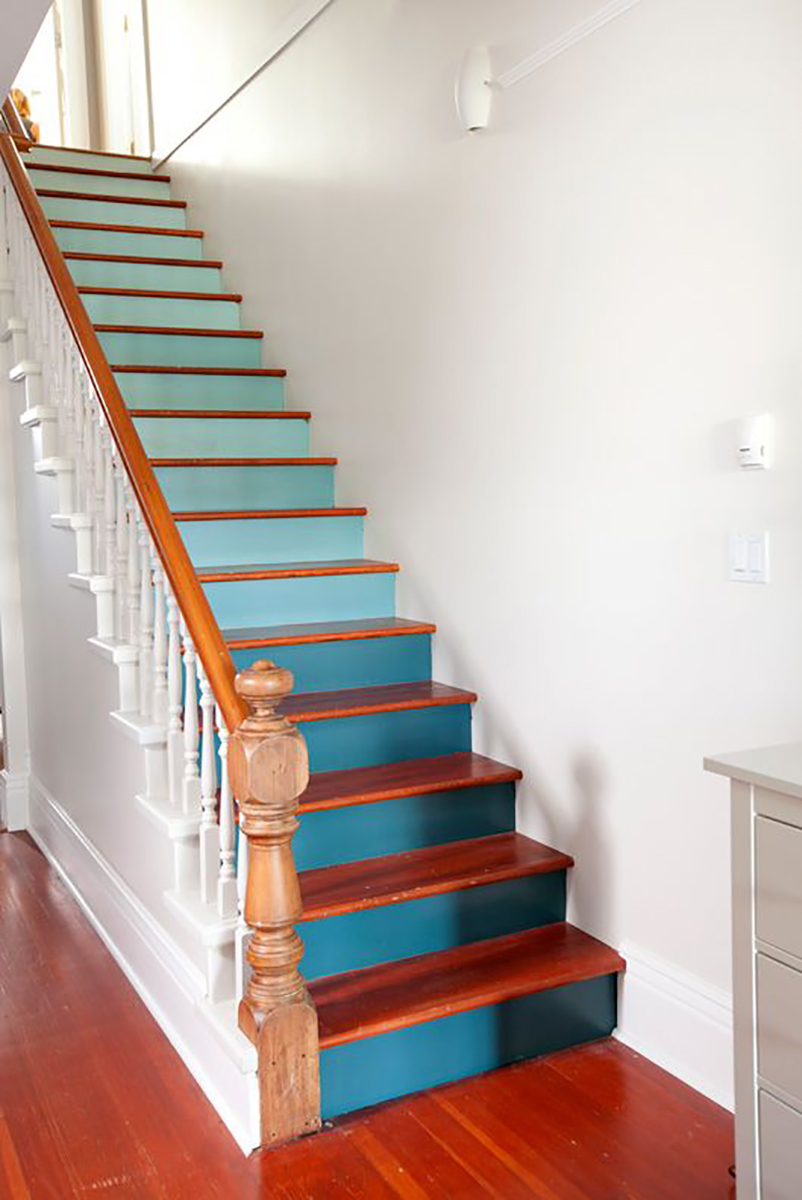
Photo credit: pinterest.com
Turn your staircase into a colorful addition to your home with paint. Painting the front of each step with any color you desire will instantly brighten the space. Choose paint colors from each shade on a paint swatch card or simply add more white paint to the base color for each step.
Just like with dressers, the separate parallel elements painted in slightly different shades make it easy to get the ombre look.
An important tip: tape and cover the areas that you are not going to paint, and use different brushes when switching between different shades of color or wash and dry them.
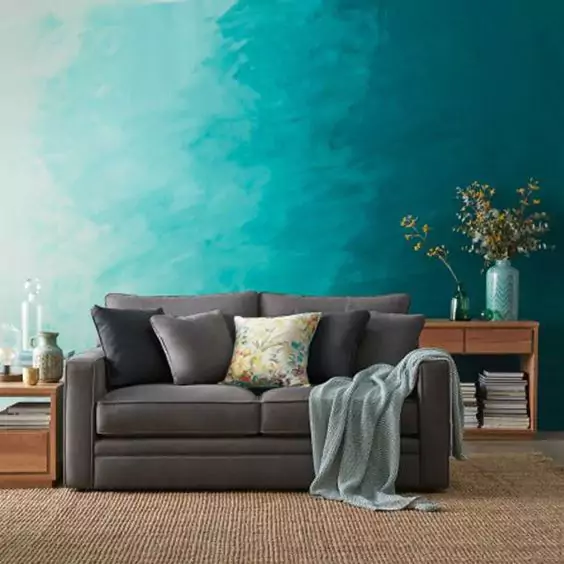
3. The underwater walled
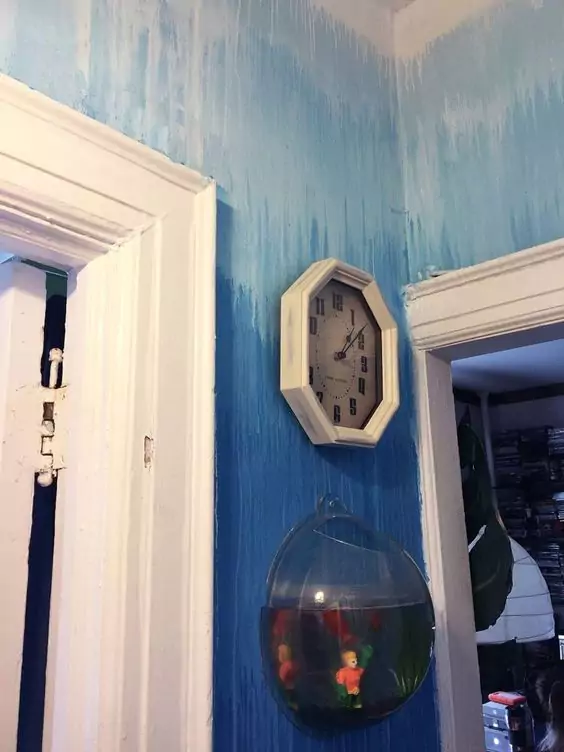
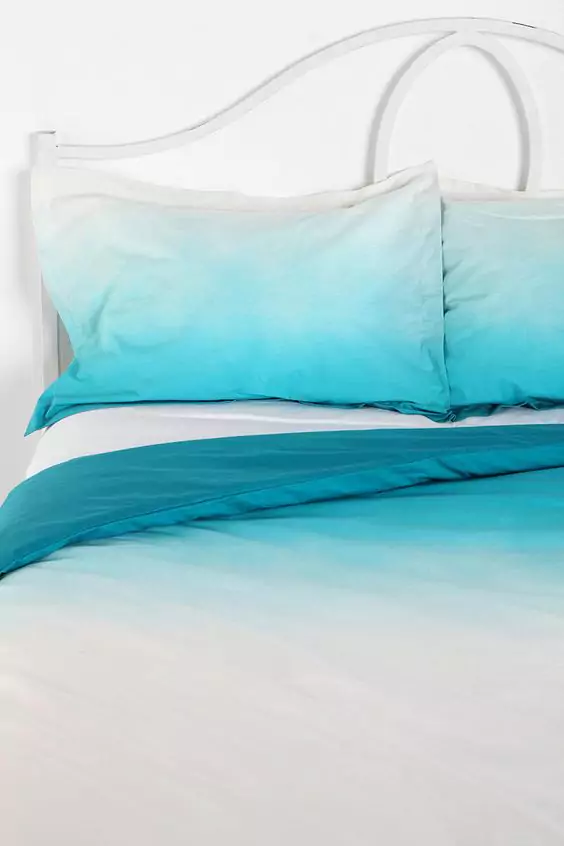
A blue palette is most common with accent walls and entire rooms painted using the ombre technique. This choice is so popular because it resembles the foamy sea colors and evokes the image of a relaxing summer day, adding a calming effect and a watery beach look to any interior.
With wall painting, the method of dividing the wall into horizontal sections and applying paint from the top down or vice versa is most common, just as using a spray bottle and a brush to create the transitions from one shade to another.
However, there are also unconventional and creative techniques, so colors or shades do not necessarily have to blend upwards or downwards and turn into white at the top or bottom of the walls.
You can use a sponge painting technique and let the varying hues drip into each other instead of blending them. This creates a different kind of a watery and mysteriously unique effect.
An important tip: you need to tape the borders and cover the floors to protect them from the paint before you start turning a wall into an ombre masterpiece.
More: 12 Incredible Ways to Reuse Your Old Books
4. Radiators
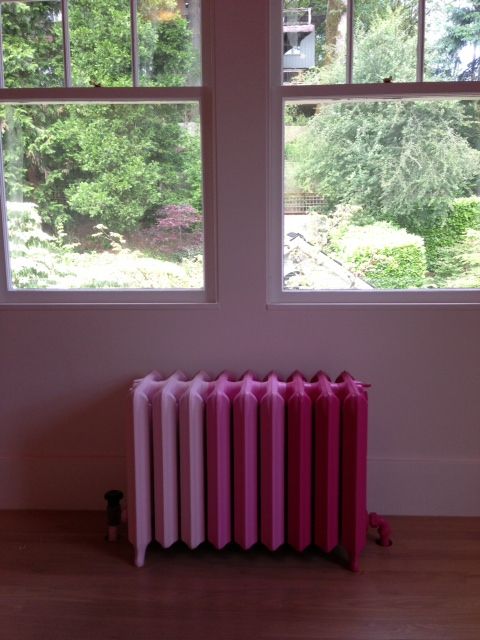
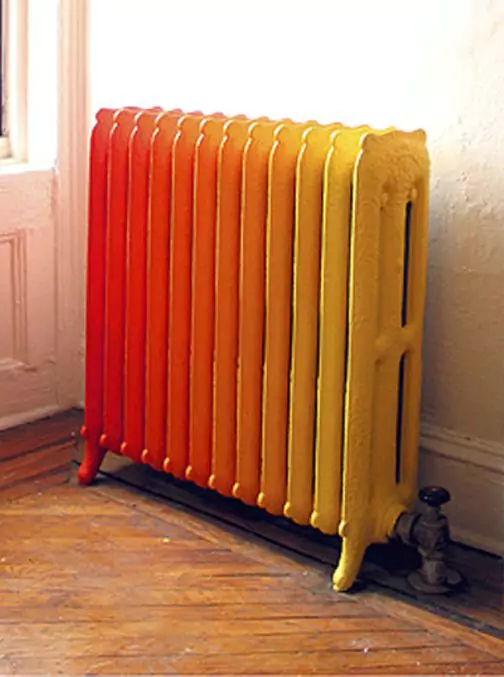
Instead of hiding or covering your radiators, you can incorporate them into the style and décor of the room, or turn them into accent pieces that add a dose of bright color. The ombre technique is a great-looking and easy way to do this because the separate sections just visually combine to create the desired ombre effect without thorough blending.
It is similar to the result you get with drawers and stairs. You can use a brush, a sponge painting technique or even spray paint for this project, but don’t forget to cover the wall and the floor before you start.
5. Furniture
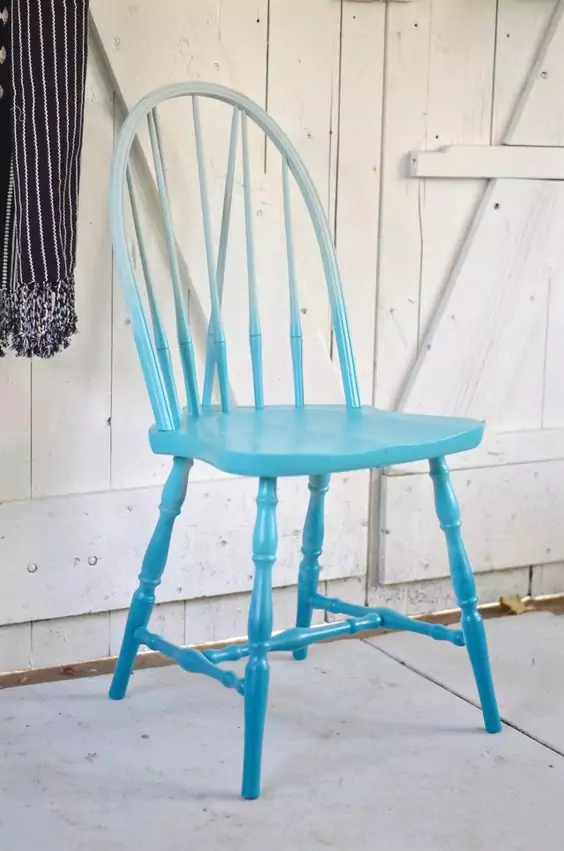
The magical power of paint is amazing when you decide to restyle the furniture you have – or your thrift store finds – instead of buying new. If you aim for the ombre look, spray paint is an incredible tool to use as it results in a cloudy effect you need, with minimum effort on your part. Just two colors will be enough to achieve the effect, or you can choose three – a light, medium, and darker shade.
6. Textiles
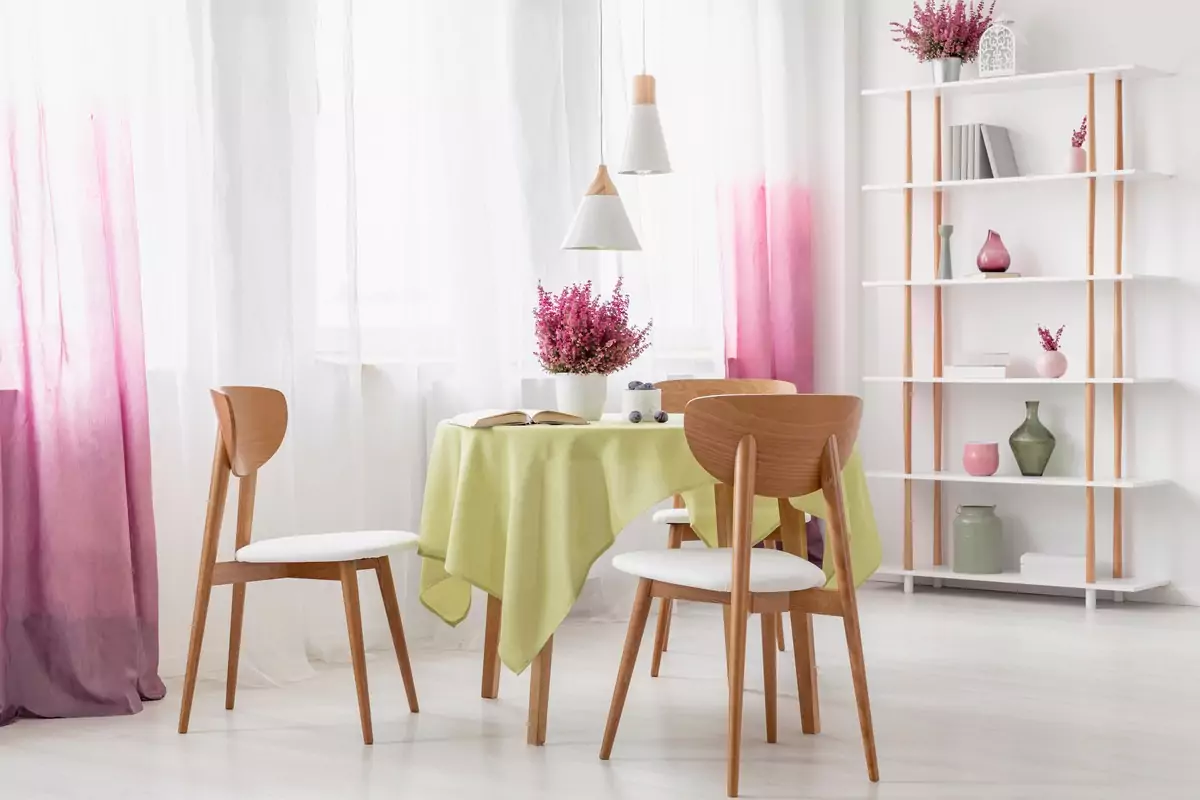
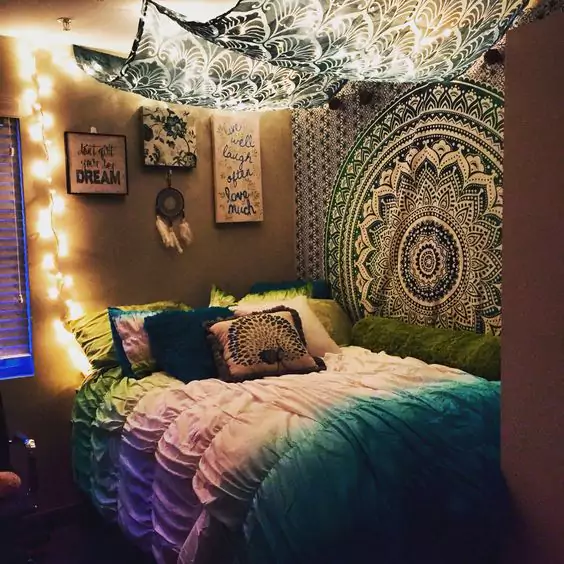
Home decorating fabrics and bedding items, curtains and decorative pillows with all kinds of color gradients are ideal for creating elegant, feminine, and romantic accents that are subtle rather than bold.
Ombre patterns and prints are great for interiors that feature a neutral color palette, making the combinations of dark and light shades more varied and visually attractive. They can also add a splash of color to brighten a neutral room or a surprising element that creates a certain feeling.
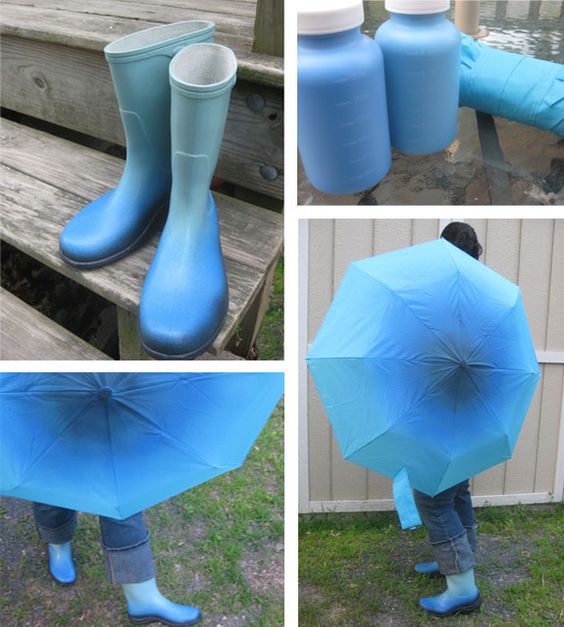
7. Planters
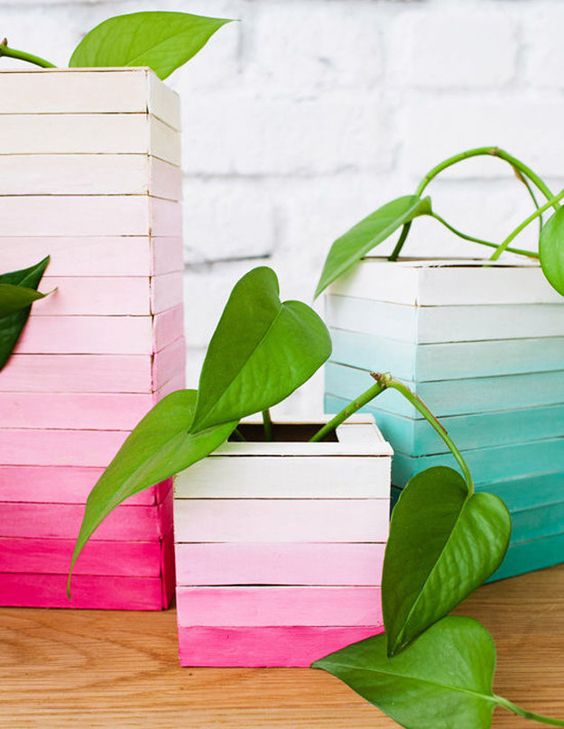
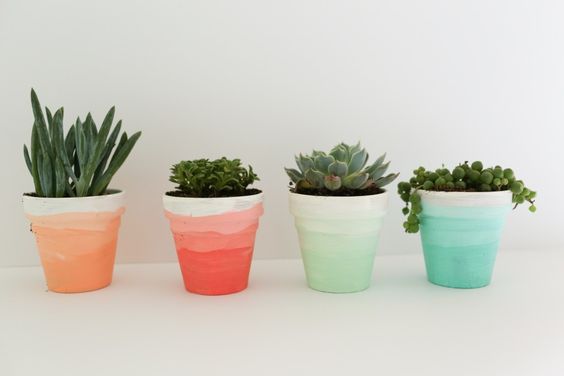
Whether you would like to give your planters a lovely makeover, to refresh the look of those that have seen their better days, or to make a nice gift for someone, an ombre or ombre-like technique is a good idea for this.
With planters and other small objects, you do not have to carefully divide the surface into zones or to make smooth transitions between the colors/shades. You can improvise and create unpredictable, asymmetric designs, combine bold and contrasting colors, or use paint in a more linear way, along the top or the bottom of a planter.
8. Old things to new
Again, never underestimate the power of paint when thinking about discarding something with a faded or tattered surface. A brand new look for a weathered item is often just a matter of minutes and tools that are simple to use.
9. Holiday decorations

When you think about holiday decorations and color combinations typically used for them, ombre isn’t the first thing that comes to mind. Why not experiment with something a little different, though, including some colors other than traditional?
More: 10 Bizarre Ways to Decorate Your House with Pumpkins
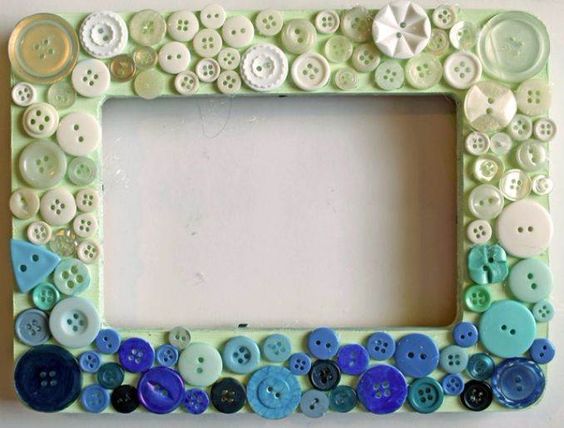
10. No-paint ombre crafts
Paint is not always necessary for creating the ombre effect – you can do that using yarn or fabric, as well as buttons, stones, shells, sea and beach glass or other small objects.
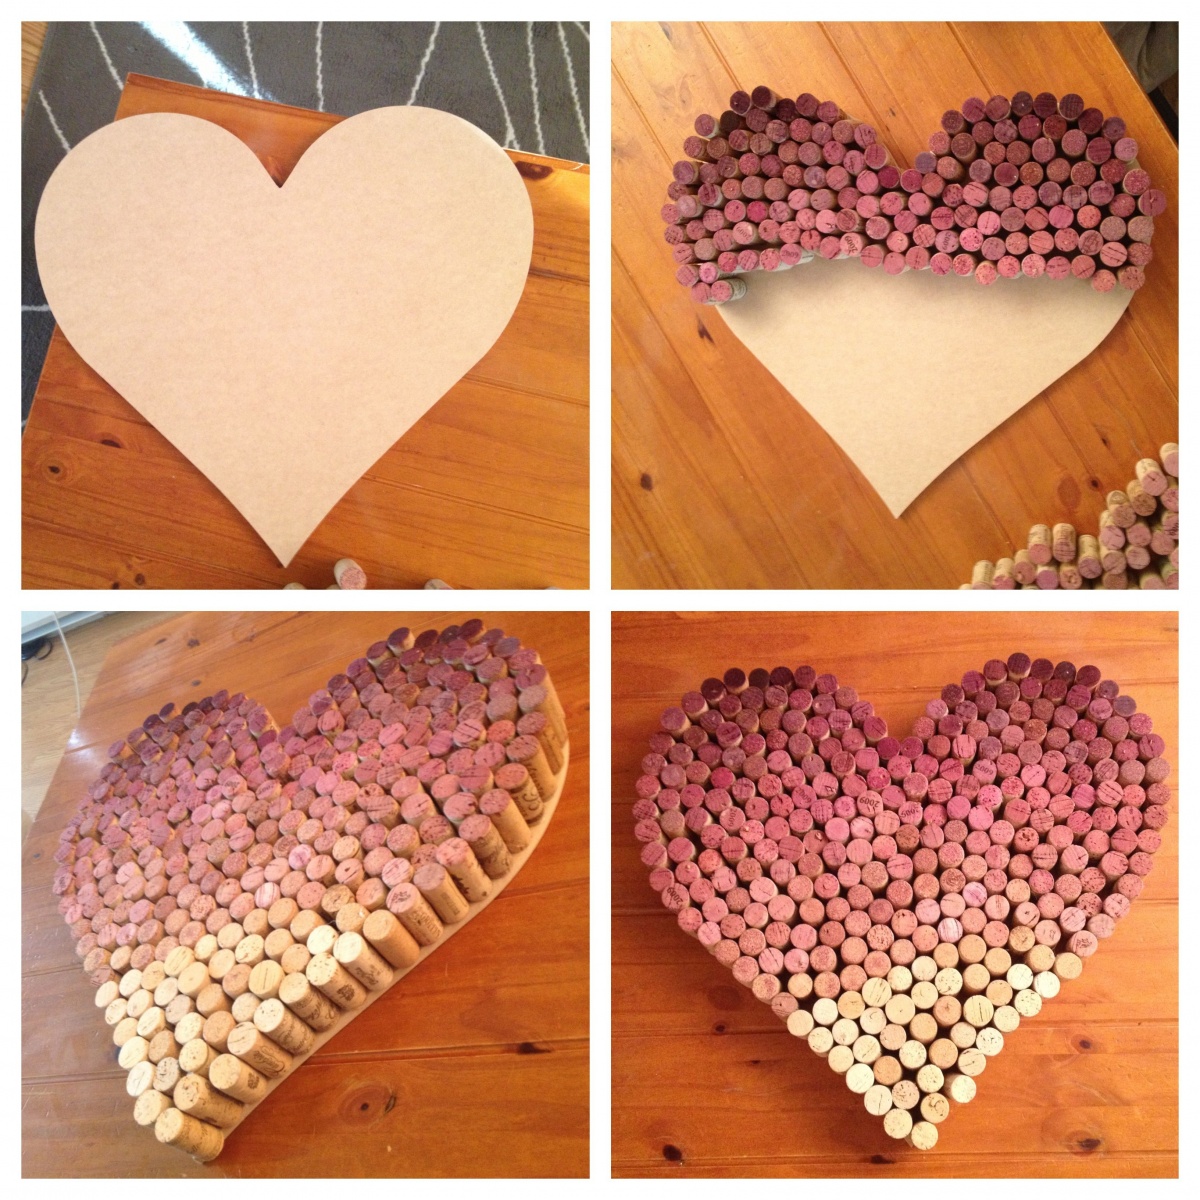
11. Corkboard
Photo credit: pinterest.com
Save up your used wine corks and put them to good use. Corkboards made of actual corks are a fun idea that can be made more decorative by painting the corks in progressively lighter colors before you attach them to the backboard.
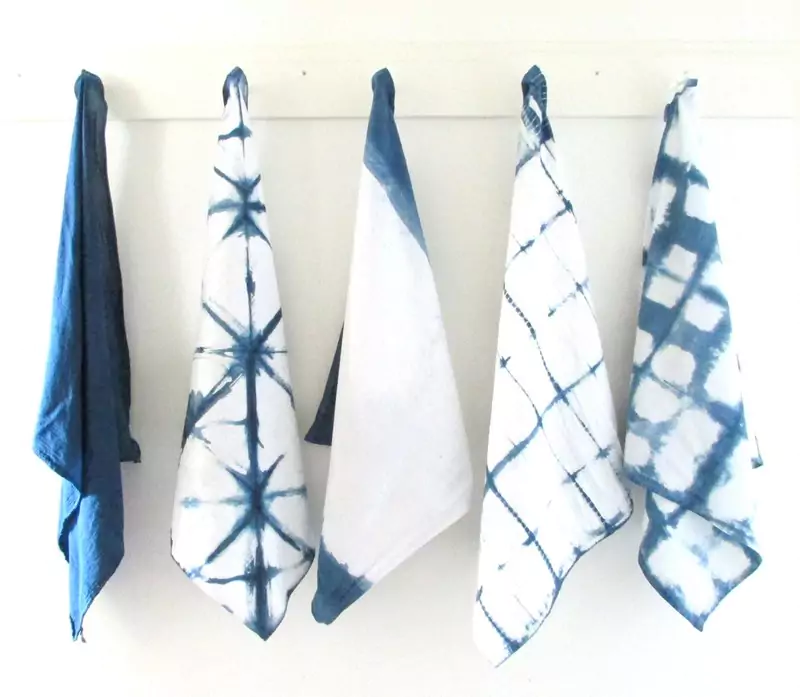
12. Dish Towels
Photo credit: pinterest.com
Photo credit: pinterest.com
Use masking tape to mark off shapes or stripes on flour sack dish towels. Starting at the bottom, paint the first shape with the color you have chosen. Add some white for the next shape or stripe and continue to tone down the color as you work.
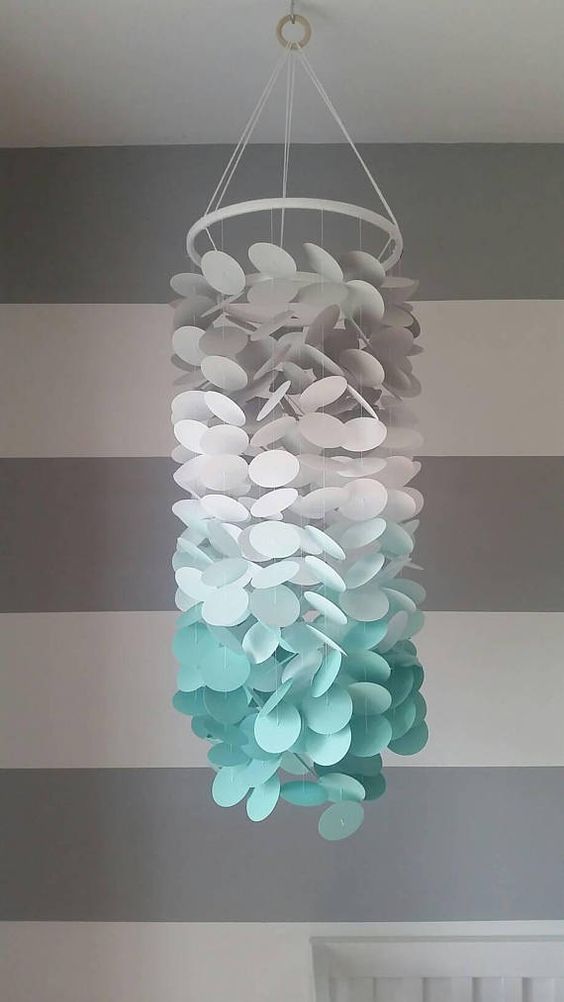
13. Light Fixture
Photo credit: pinterest.com
Create your own chandelier by cutting shapes out of paint swatch card and stringing them together. Circles work very well for this project, but you can use any shape you like. Run a thread through the shapes so that each piece slightly overlaps the next when the thread is held vertically. Tie the threaded cutouts to a hoop and attach it to your light fixture.
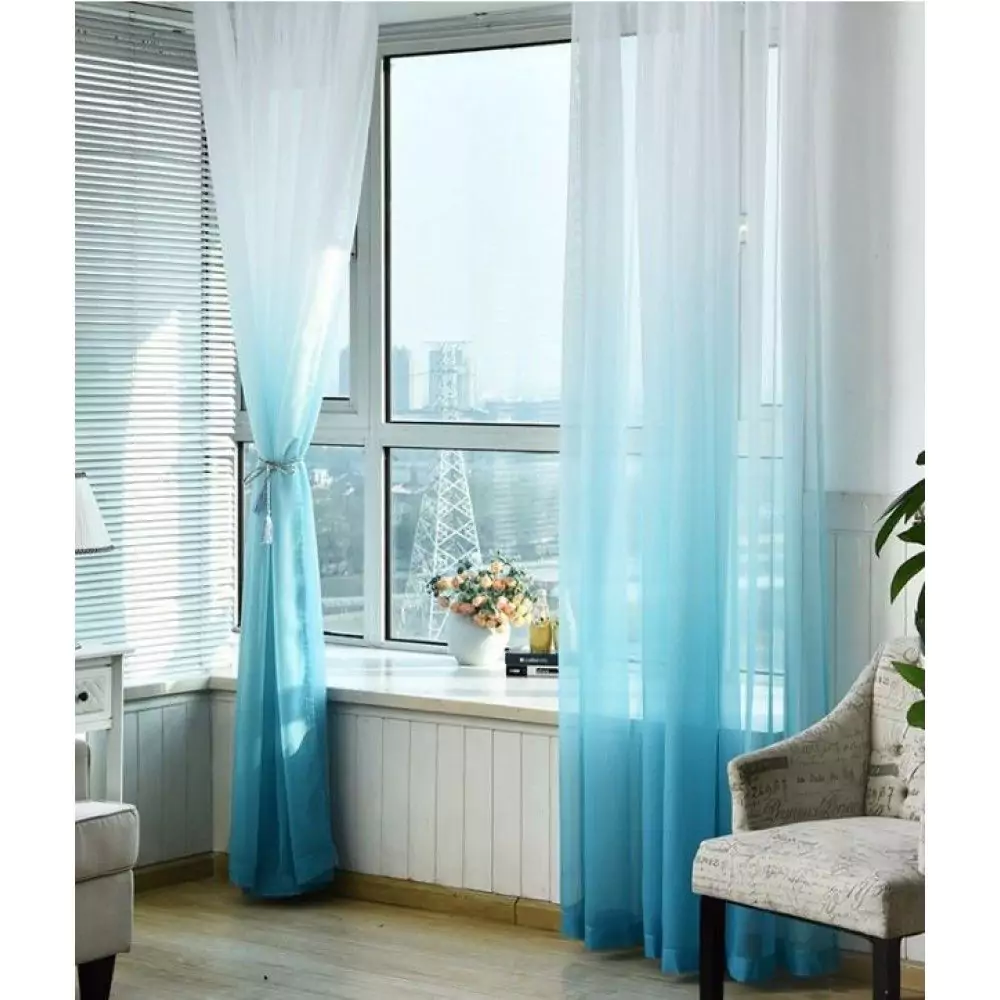
14. Curtains
Photo credit: pinterest.com
To create ombre curtains, you just need some fabric dye and some simple white curtains that will fit your window. Mix up the fabric dye and dip a few inches of the curtain into the mixture. After ten minutes, dip another few inches and wait. It’s best to measure the amount you are dipping so the colors will be even. Continue to add more fabric to the dye every five minutes, then remove the entire curtain and follow the dye directions to set.
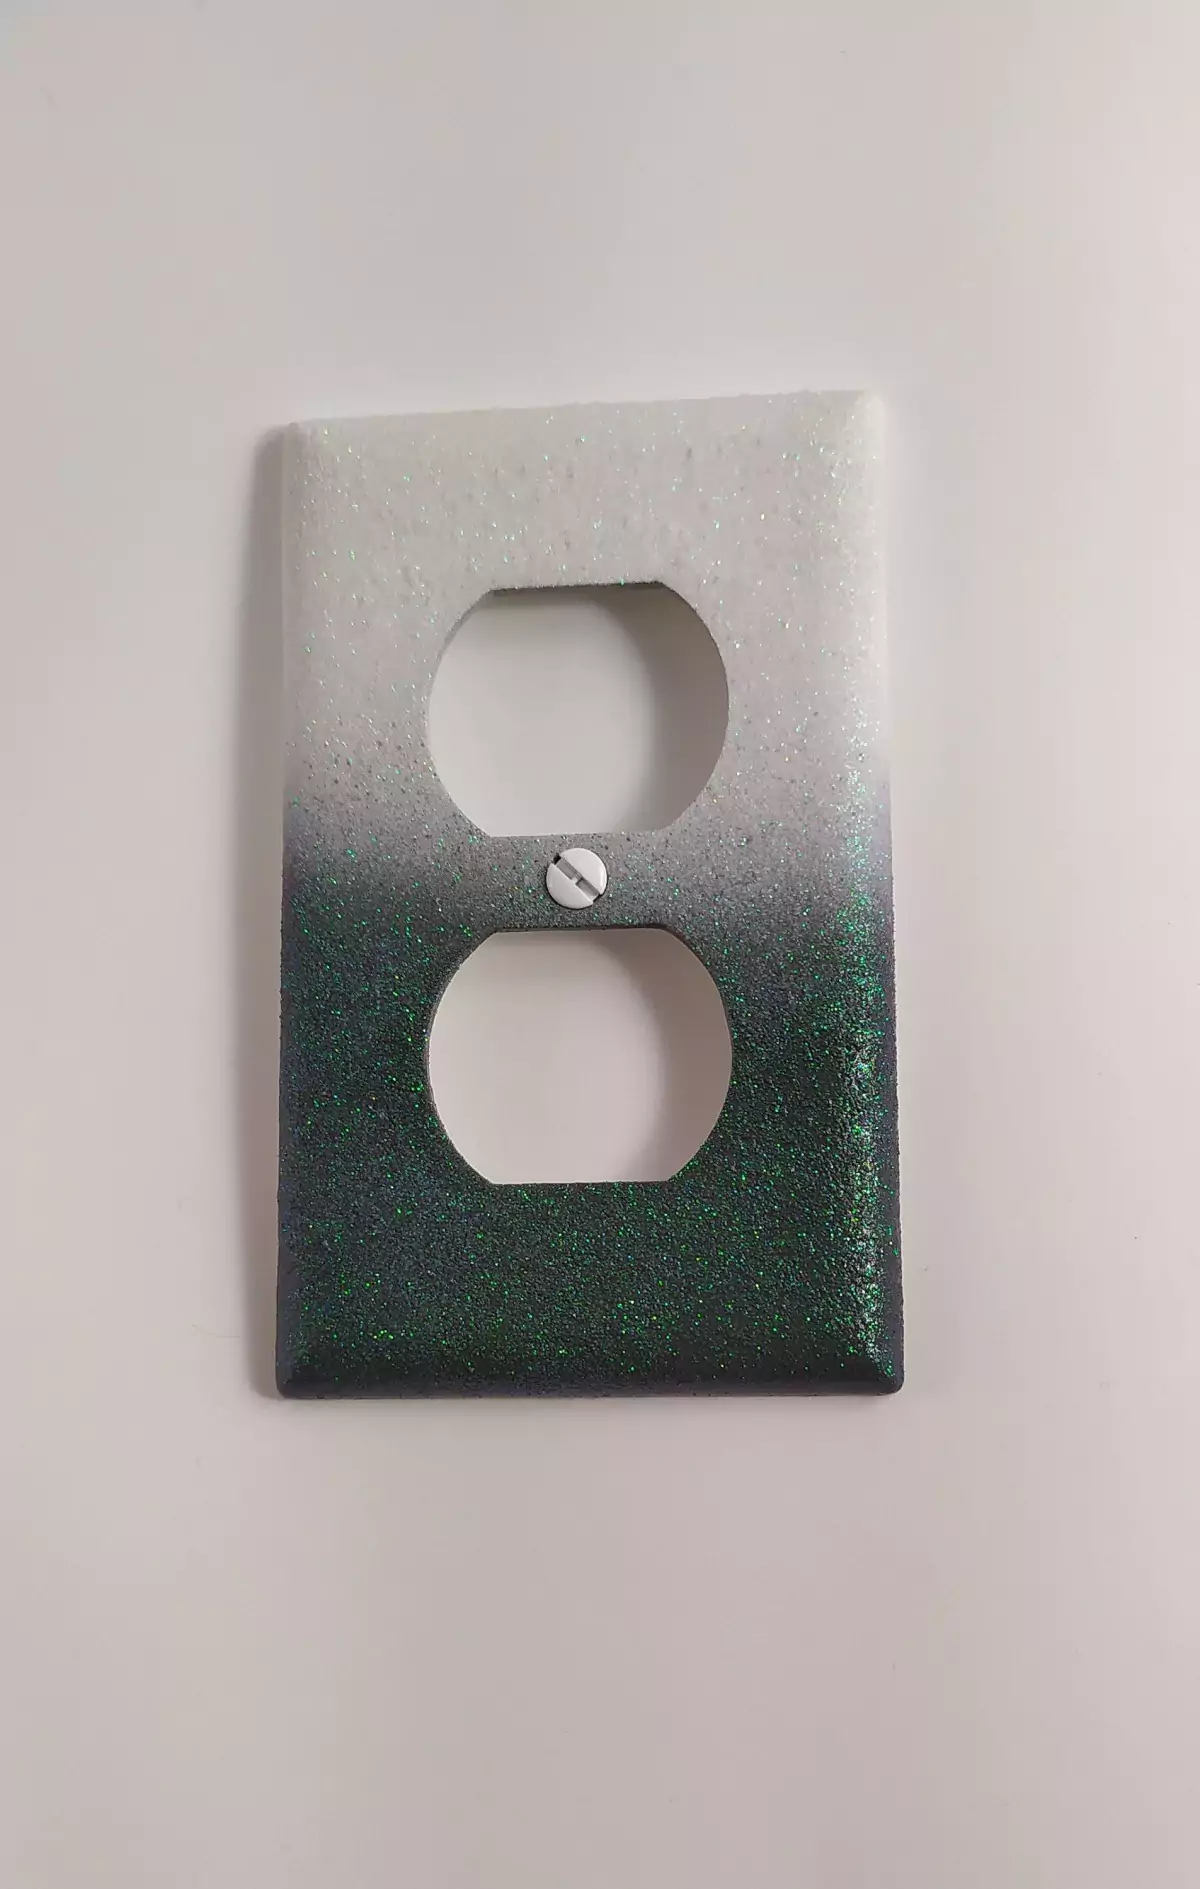
15. Light Switch Plates
Photo credit: pinterest.com
Light switch plates can be personalized very simply with painted ombre stripes. You will need a top coat of clear varnish to seal the paint. Once it is dry, you can replace it on the wall to add a spark of color to the room.
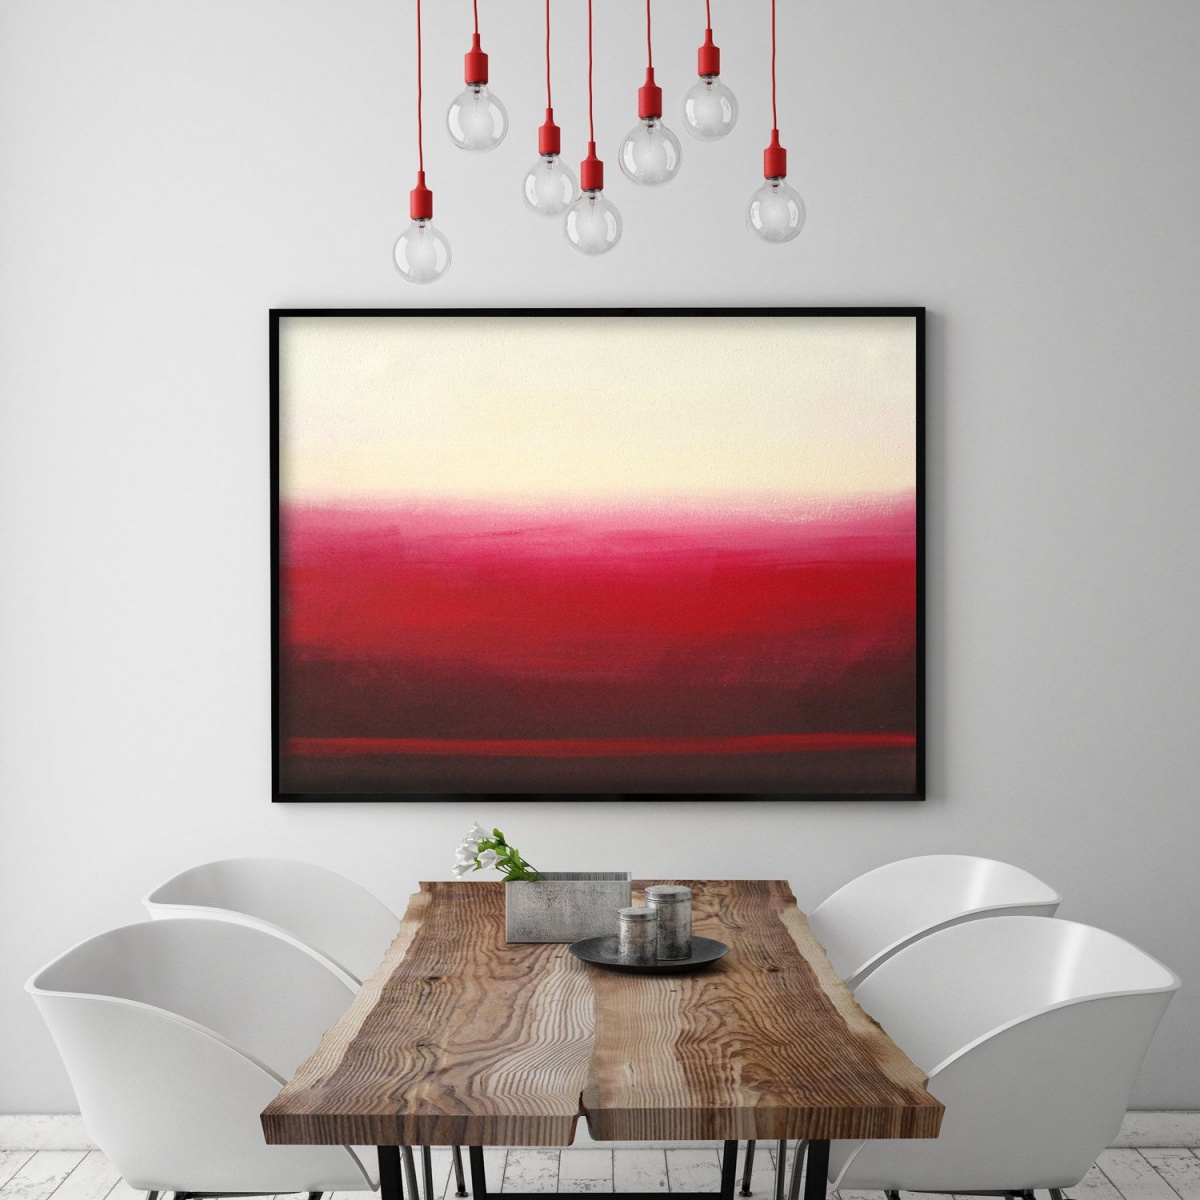
16. Wall Canvas
Photo credit: pinterest.com
Take a canvas of any size and start dabbing paint on it. Start at the bottom and work your way up, leaving plenty of texture. Adding white to the paint will allow you to create an ombre effect by fading the color out as you move up the canvas.
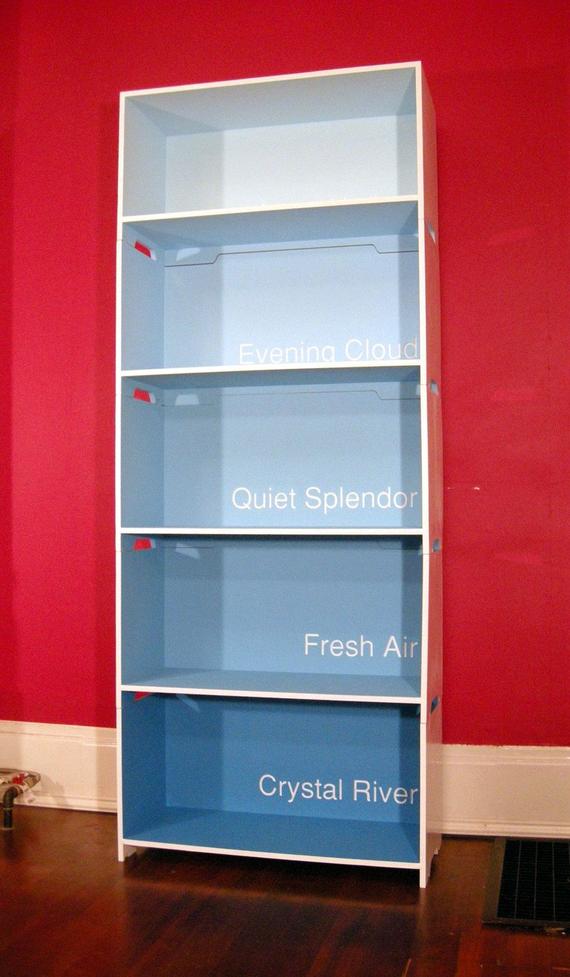
17. Bookshelves
Photo credit: pinterest.com
Paint the back of the bookshelf in ombre colors, starting with any color you want for the bottom shelf and ending in white at the top. You can paint the rest of the bookshelf in black or white to really make the colors pop.
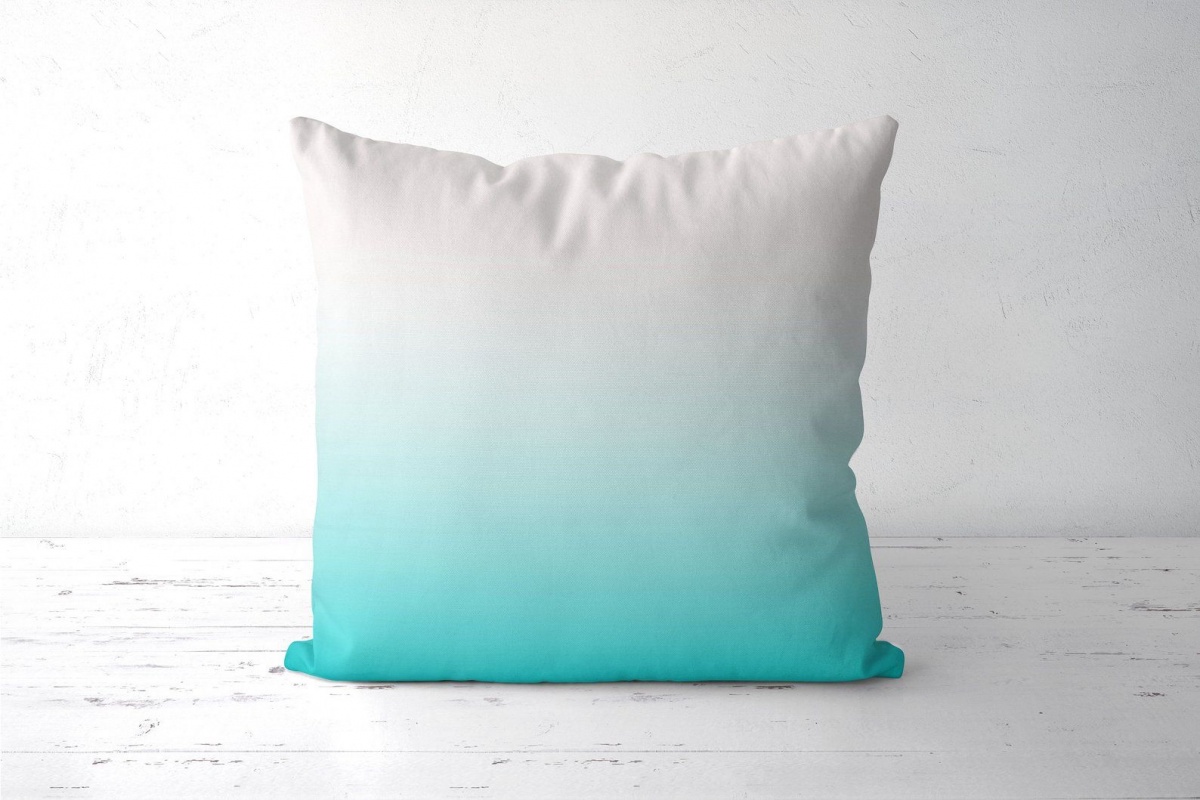
18. Cushions
Photo credit: pinterest.com
Create an ode to ombre on your sofa by lining up cushions of slightly different colors. To get this effect, you can either purchase cushions in varying tones of one color, or you can make your own. If you can’t find the right colors, try dying white cushion covers. Leave the first one in the dye the recommended amount of time and reduce the amount of time by ten minutes for each cover.
Ombre projects are a great way to add accents to your space. Any color can be used, so you can match the current décor.
The best thing about ombre projects and their beauty lies is the versatility and unpredictability of the result that does not have to be perfect and probably even can’t be. Each project turns out to be unique, with a great potential to make a certain space feel more like home.